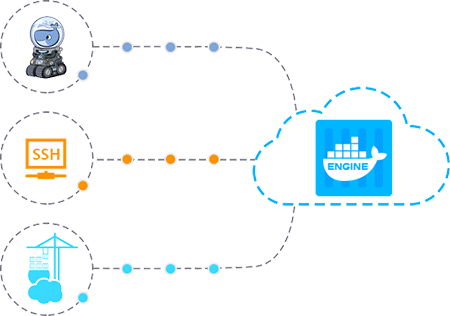
Nowadays, more and more developers abandon heavy and clumsy VMs in favor of the lightweight portable containers, preferring writing new-style cloud-native applications, provisioned as a set of microservices. Such an approach gives much more flexibility and provides a kind of unification, allowing to utilize and easily move between different cloud service providers.
Thus, following the common hosting market trends, today we’ll continue to explore specifics of the native Docker support within Jelastic PaaS, focusing on the Jelastic-adapted Docker Engine auto-installation solution we’ve started to explore the last time. Namely, this article will be devoted to the results you should expect upon choosing each of the offered deployment modes and the ways you could further manage your Engine instance through.
Modes for Docker Engine Auto-Installation
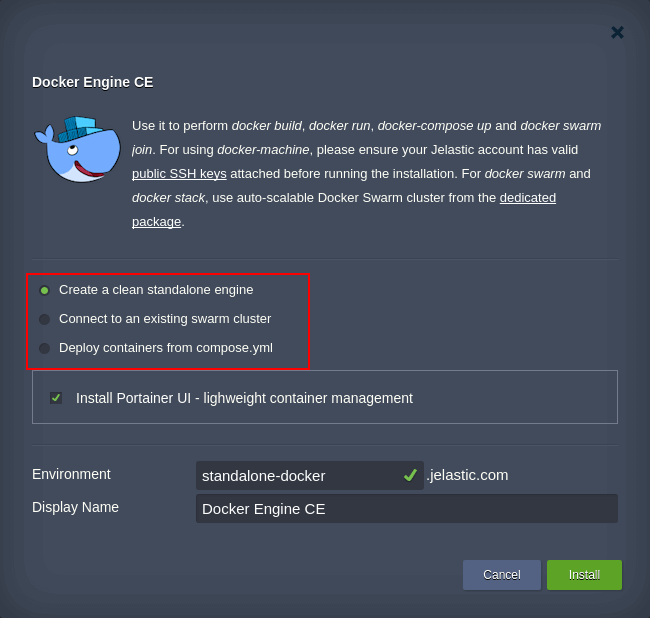
As you could already get to know from the previous article of the series, the Docker Engine CE by Jelastic could be delivered upon three different deployment modes you can choose among during the package installation preconfiguration.
Below, we’ll consider each of them in details to help determining the most suitable solution for running such instance based on your specific needs and learn the most common steps to be performed after the creation.
Clean Docker Engine Server
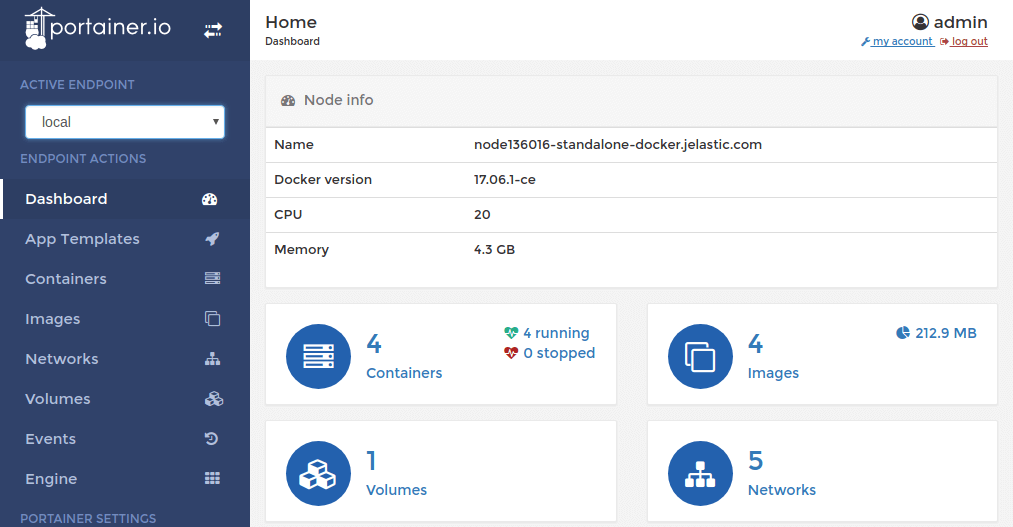
If selecting the clean installation type, an empty Engine instance with just a Docker daemon being run inside (i.e., without any deployed application and/or other customizations) will be created. Herewith, continuing to follow the UI-focused appliсation deployment approach, the Platform lets to optionally supply this node with an embedded Portainer – a dedicated management GUI panel, which allows taking control of your Docker-based environments and particular instances through a comfortable web interface.

For more advanced configurations, a set of dedicated docker CLI commands can be used, intended to be executed within a terminal window upon connecting to the required Engine node via Jelastic SSH Gate or docker-machine utility. The ways to establish the connection are described further down the article, whilst currently, let’s pay attention to the most essential and commonly used CLI operations:
- docker run – to start a container with some custom instructions (e.g., for adding or overriding the image defaults);
- docker exec – to execute a command on a running container;
- docker-compose up – to create (or re-create, if already exist) and start service(s) inside containers based on the instructions, declared within the specified compose file.
The full list of the appropriate commands, with their detailed descriptions and available options, can be found in the official Docker documentation.
Docker Engine Inclusion into Swarm Cluster
In case you have a Docker Swarm cluster running anywhere over the Internet, you can easily populate it with new members using the Docker Engine package. It allows to properly integrate the newly created instance to the already existing clustering solution with either Worker or Manager node role. Alongside with obvious management convenience, such cluster extendance approach represents a great opportunity to implement additional high availability and failover protection of your cluster through locating new instances at different hardware sets (environment regions).
To connect to a Swarm, you need to find out Join Token of the target Docker Swarm and Host IP (an external address) of its Manager node to provide these values within the Engine installation frame. Herewith, the first one could be fetched by executing the appropriate command on your Swarm Manager node:
docker swarm join-token {node_type}

Within this string, the {node_type} placeholder should be substituted with either worker or manager value – depending on the preferred role of the added instance.
To check the cluster status after it’s created, execute the command from below at any of its Manager containers:
docker node ls

As you can see, for now our example Swarm cluster is composed of 3 Manager nodes (marked with the appropriate statuses within the last column) and 6 Worker containers, one of which (at the very top) is run within an environment upon a different domain name due to being appended externally by our Docker Engine CE solution.
Docker Engine with Pre-Deployed Services
Upon choosing this option, the installation frame will be extended with a dedicated input field to specify a link to the Git repository, that should be automatically deployed to the newly created Engine instance (where the default example URL leads to the simple Hello World application sources).

Once all the appropriate operations are completed, the result could be checked in one of the following ways:
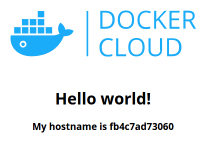
- If your application runs some web interface, you can click the Open in browser button to ensure it was installed successfully (herewith, it’s implied that the appropriate GUI is handled at the default 80th container port; otherwise, you need to append the required port number to the end of the opened URL, i.e., http://{env_host}:{exposed_port});As for our default example application, you should be shown the following page:
- In case the deployed project does not have an embedded GUI, you could get the deployment details right through the dashboard in order to ensure everything has been installed successfully.For that, check the logs (run.log file in particular):
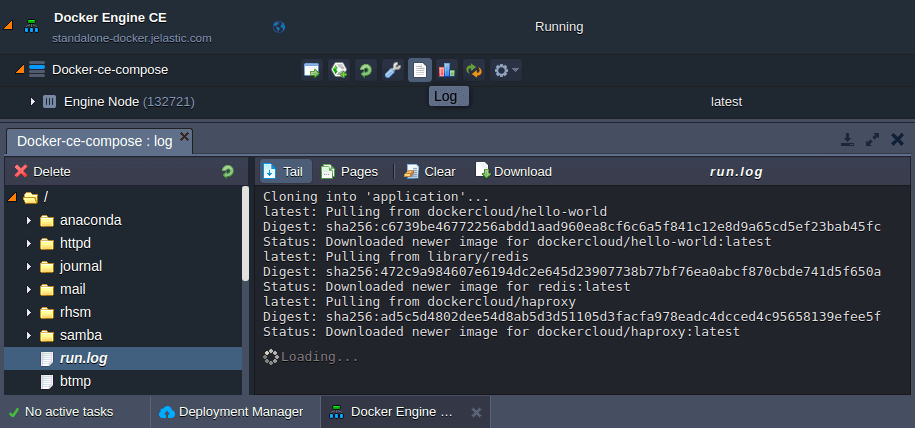 Tip: In order to view the Docker daemon logs, enter your container via terminal and execute the journalctl -u docker.service command.
To proceed with the further Engine utilization and adjustment, examine the next article section and find out the ways you could manage the created instances through.
Establishing Connection to Docker Engine Container
For the advanced Docker Engine management, you need to enter the appropriate container via SSH or utilize some 3rd-party Docker-dedicated tools – let’s consider a few basic ways this could be accomplished through:
- Portainer UI
In case you’ve defined to install the Portainer UI when setting up a bare Engine instance, the appropriate management panel can be accessed by simply opening your environment URL in a browser through HTTPS.
Note: By default, connection to Portainer is secured with a self-signed SSL certificate, thus you might be shown the warning that it’s not trusted by your browser. This does not actually affect the Portainer functionality – you just need to confirm you do want to access the requested page.
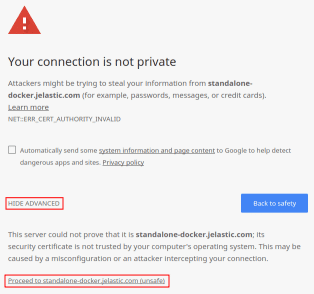
The required actions could differ depending on the used browser – for example, in Google Chrome you’ll need to expand the Advanced section and click on the Proceed to {env_URL} link.
The appropriate authentication credentials to enter the Portainer itself can be found within the corresponding email notification you’ve received during the Engine server creation.
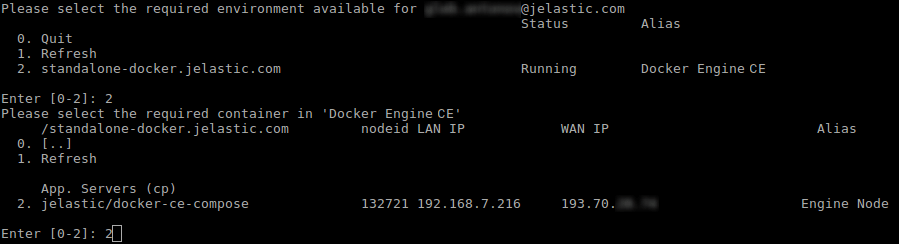
- SSH Gate
Use Jelastic SSH Gate – just connect to your account, choose your Docker Engine environment and enter the required server/container to start working.
- Docker Machine
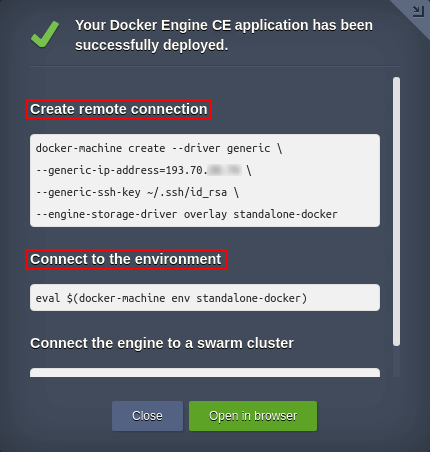
Another way of access is to establish the remote container connection through Docker machine and generic driver. For that, execute the appropriate Create remote connection or Connect to the environment command, provisioned within the solution installation success frame (also, you can find this data within your email box).
Note: When integrating SSH keys to your account for the further Docker Engine management, please consider the following points:
- In case your private SSH key has custom name or location (i.e., the path to it differs from the default ~/.ssh/id_rsa one), you need to adjust the appropriate value(s) within the Create remote connection command;
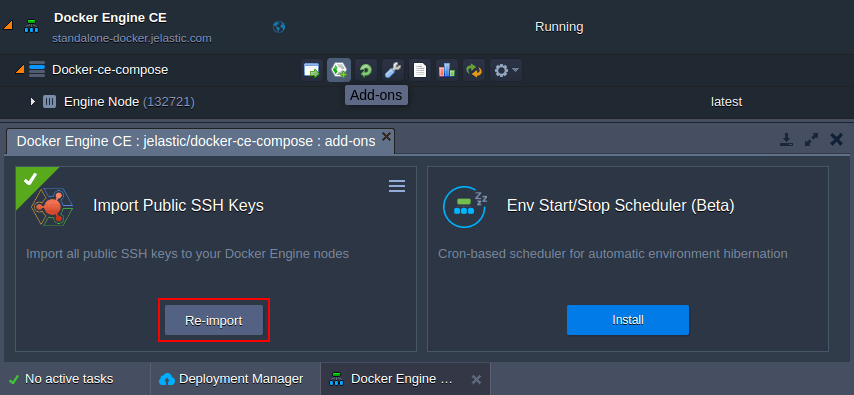
- The created server is automatically supplied with a special Add-on, that allows to Re-import the newly added public SSH keys from your Platform account into all Docker Engine nodes at the corresponding layer, allowing to establish the docker machine connection with new authentication parameters.
That’s all for today. We hope the described Docker Engine package functionality gave you enough evidence on its ease-to-use (due to the completely automated installation and simple configuration/connection processes) and versatility (based on multiple deployment options it could be run through to meet the one’s specific requirements). And to ensure it can satisfy you as well, just give it a try and deploy your own Docker Engine instance at Jelastic PaaS.