![]() Confluence is a project collaboration tool with an extensive set of features that help to improve the efficiency of joint teams work and gain development productivity in general. It provides a centralized location to collaborate on projects, allowing to build product knowledge base with different content types – docs, files, ideas, specs, diagrams, mock-ups, etc. Being a truly flexible tool, Confluence supports add-ons, includes built-in templates, JIRA integration and lots of other appealing features.
Confluence is a project collaboration tool with an extensive set of features that help to improve the efficiency of joint teams work and gain development productivity in general. It provides a centralized location to collaborate on projects, allowing to build product knowledge base with different content types – docs, files, ideas, specs, diagrams, mock-ups, etc. Being a truly flexible tool, Confluence supports add-ons, includes built-in templates, JIRA integration and lots of other appealing features.
To run Confluence software inside Jelastic PaaS, you’ll need to accomplish the next steps, described in the same named sections within the guide below:
- Create a new environment;
- Download and deploy Confluence Server package;
- Apply the required configurations;
- Install Confluence instance.
Create New Environment
To start, log in to the Jelastic PaaS dashboard with your credentials and click NEW ENVIRONMENT in its top left corner.
Within the opened wizard, switch to the JAVA tab (the first one) and select Tomcat as your application server.
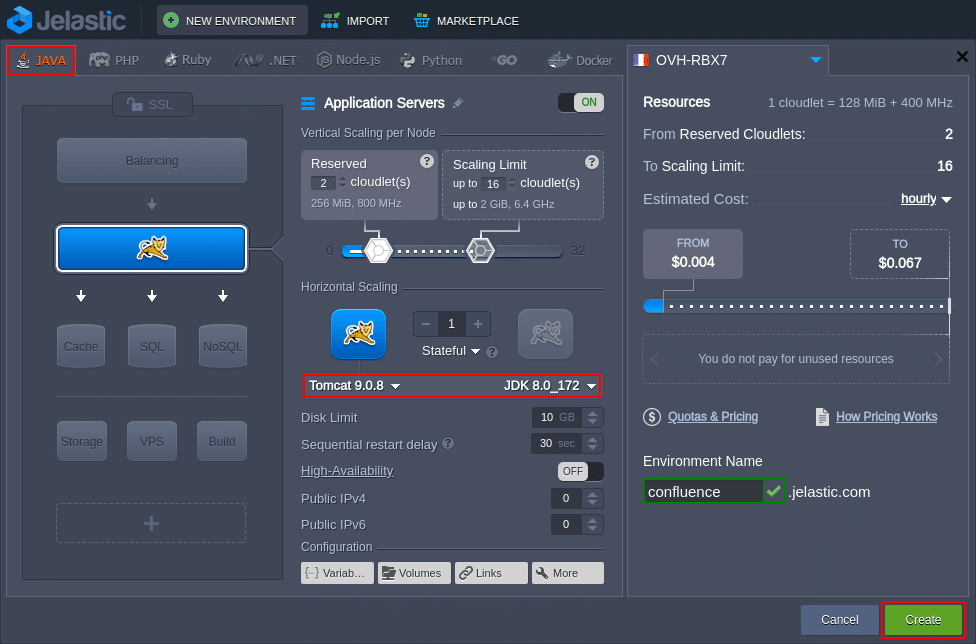
Allocate the required amount of resources for this node with vertical scaling sliders on the central pane, type Environment Name and click Create.
In a few minutes, your new environment will appear on the dashboard. Meanwhile, let’s proceed to the Confluence Server sources download.
Download and Deploy Confluence Server
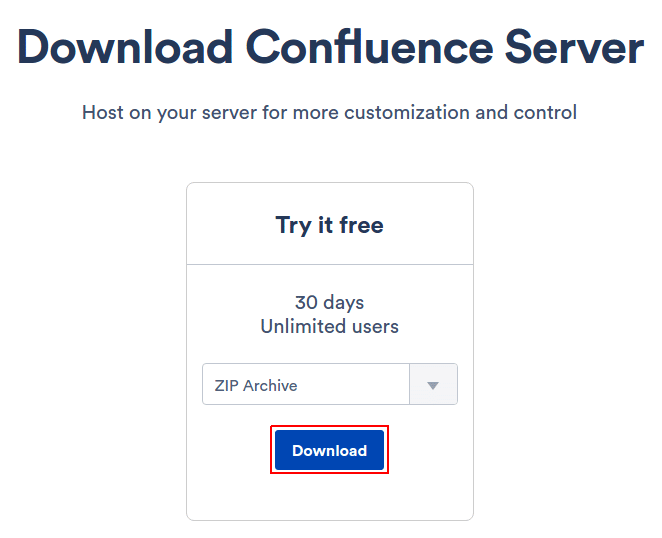
1. While the environment is being created, visit the official Atlassian website to get a free 30-day trial version of Confluence Server software – just select ZIP Archive package type and click Download.
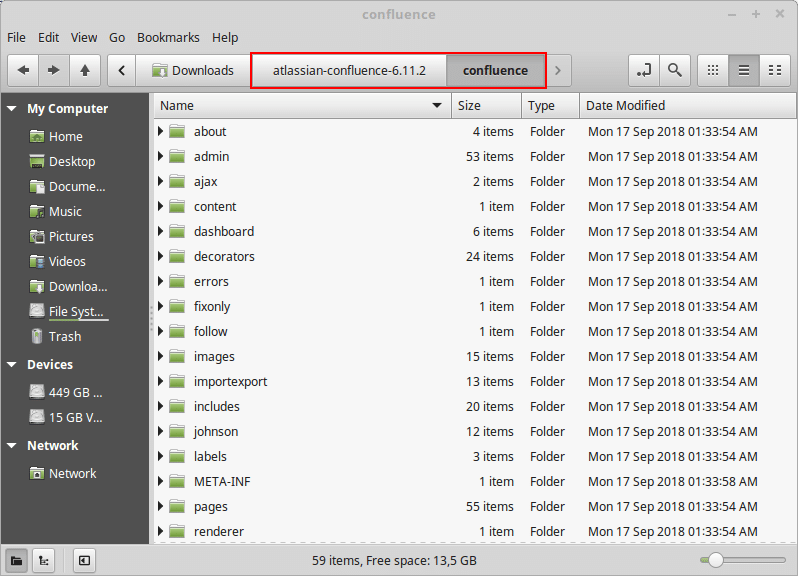
2. Unzip the downloaded package, locate the confluence directory and compile a WAR file with its content.
Since the compiled WAR archive most likely will exceed the 150 MB limit for being uploaded to your dashboard as a local file, put it to an online file storage (e.g., Dropbox, Google Drive, OneDrive, etc.) and copy the direct link to its location.
3. Return to the Jelastic PaaS dashboard (we assume the appropriate environment has been already created by this time) and click Upload under the Deployment manager section.
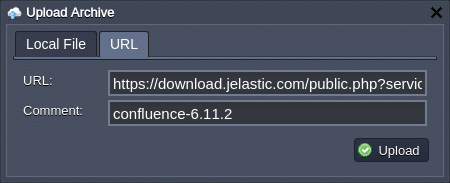
In the appeared dialog box, switch to the URL tab, paste the saved link to your WAR file and click Upload.
4. Hover over the uploaded package and click the Deploy to… button. Within the opened frame, select the destination environment (confluence in our case) and, if needed, configure other deployment parameters.
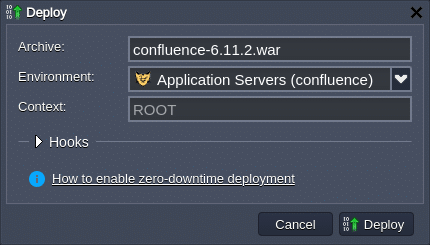
Click the Deploy button and wait until the process is successfully completed to proceed to the next section.
Configure Confluence Environment
As the last step, some additional configurations should be applied to Confluence settings for enabling it running properly within Jelastic PaaS – accomplish them as follows.
1. Click Config next to the Tomcat node to open container file manager. Switch to the /opt/tomcat/temp folder (the temp shortcut within Favorites list) and create a new data folder inside.
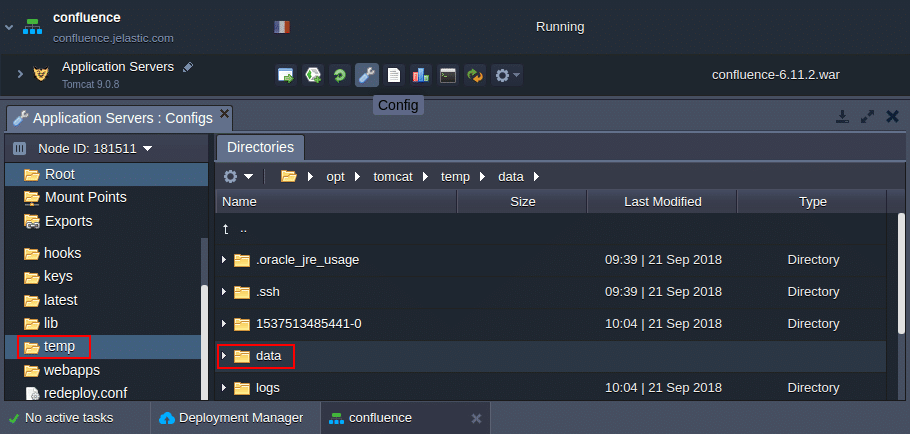
Copy the absolute path to it using the directories nesting bar above the main manager frame (/opt/tomcat/temp/data in our case).
2. Now, navigate to the confluence-init.properties file within the opt/tomcat/webapps/ROOT/WEB-INF/classes directory.
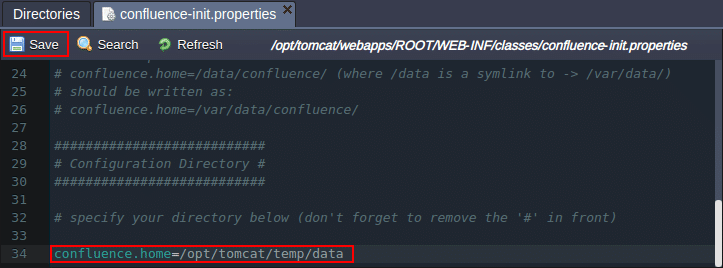
Uncomment the confluence.home parameter and specify the copied path to the data directory as a value. Save the changes.
3. Click Restart nodes next to the Tomcat application server for the new settings to be applied.
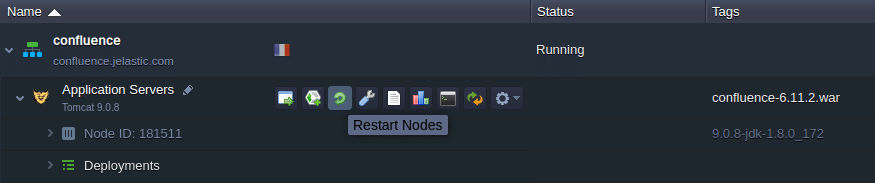
Once Tomcat is up again, you can proceed to the next section.
Install Confluence Instance
Finally, now you are ready to set up your own Confluence instance.
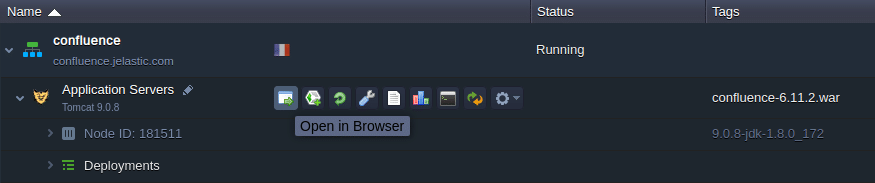
1. Within the main environment management pane, select Open in Browser for Tomcat in order to launch Confluence setup wizard in a new tab.
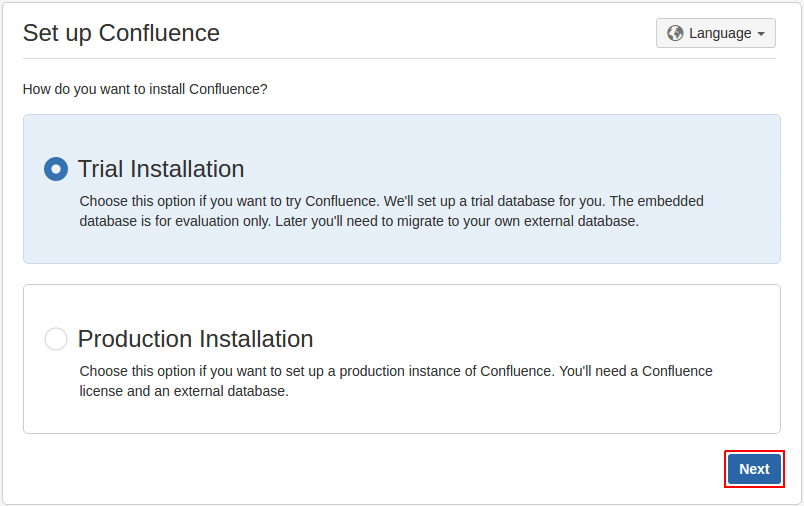
2. In the opened Set up Confluence page, select Trial Installation and click Next.
3. Under the Confluence box, click the Get an evaluation license link to generate a key and confirm its usage for the current installation.
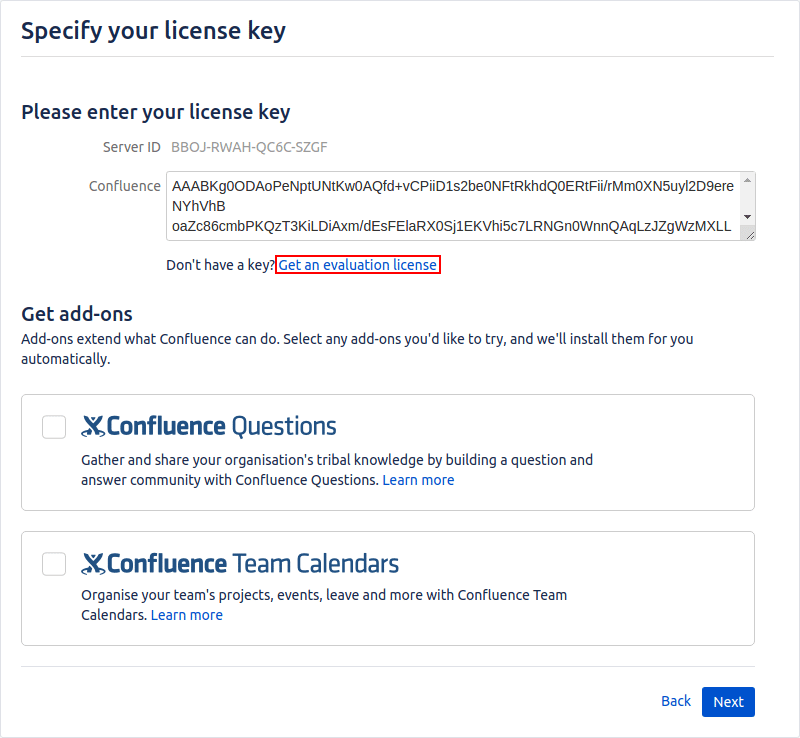
When you are finished, click Next and give some time for the system to configure your license and to set up a trial database.
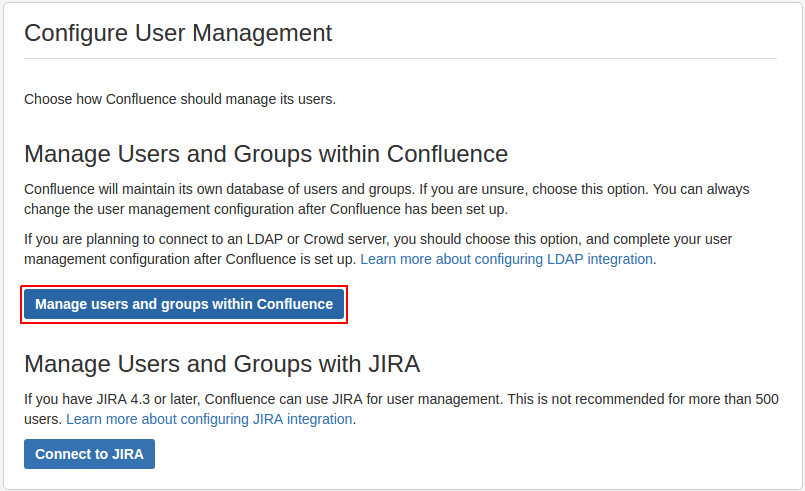
4. At the next frame, define how the users and user groups should be managed within your Confluence instance – either by the service itself or through the externally connected JIRA system (if you already have one).
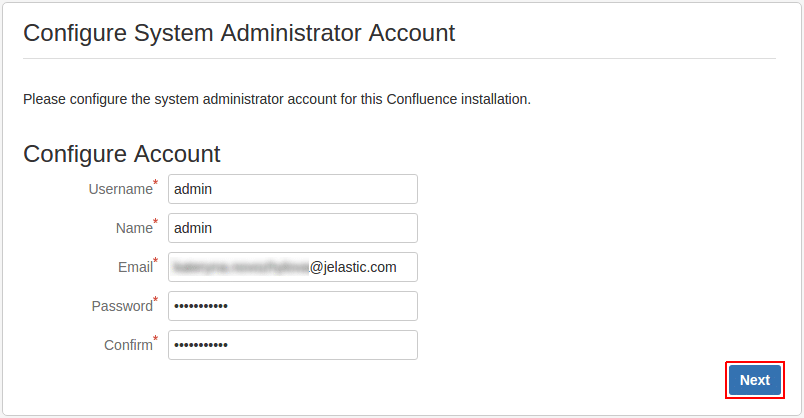
5. Finally, configure your system administrator account by providing the desired credentials and click on Next.
That’s all! Now you can get acquainted with the basics of the system, or just click Next to finish the wizard and launch the main Confluence dashboard page.
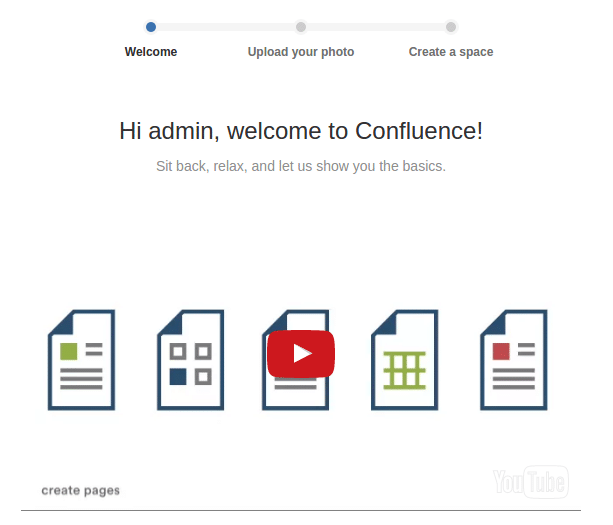
Start filling up the system with the required product-related data, share these materials with your teammates and enjoy all the features for joint work provided by this tool.
Ready to install your Confluence server? Get started at at our Jelastic PaaS platform.